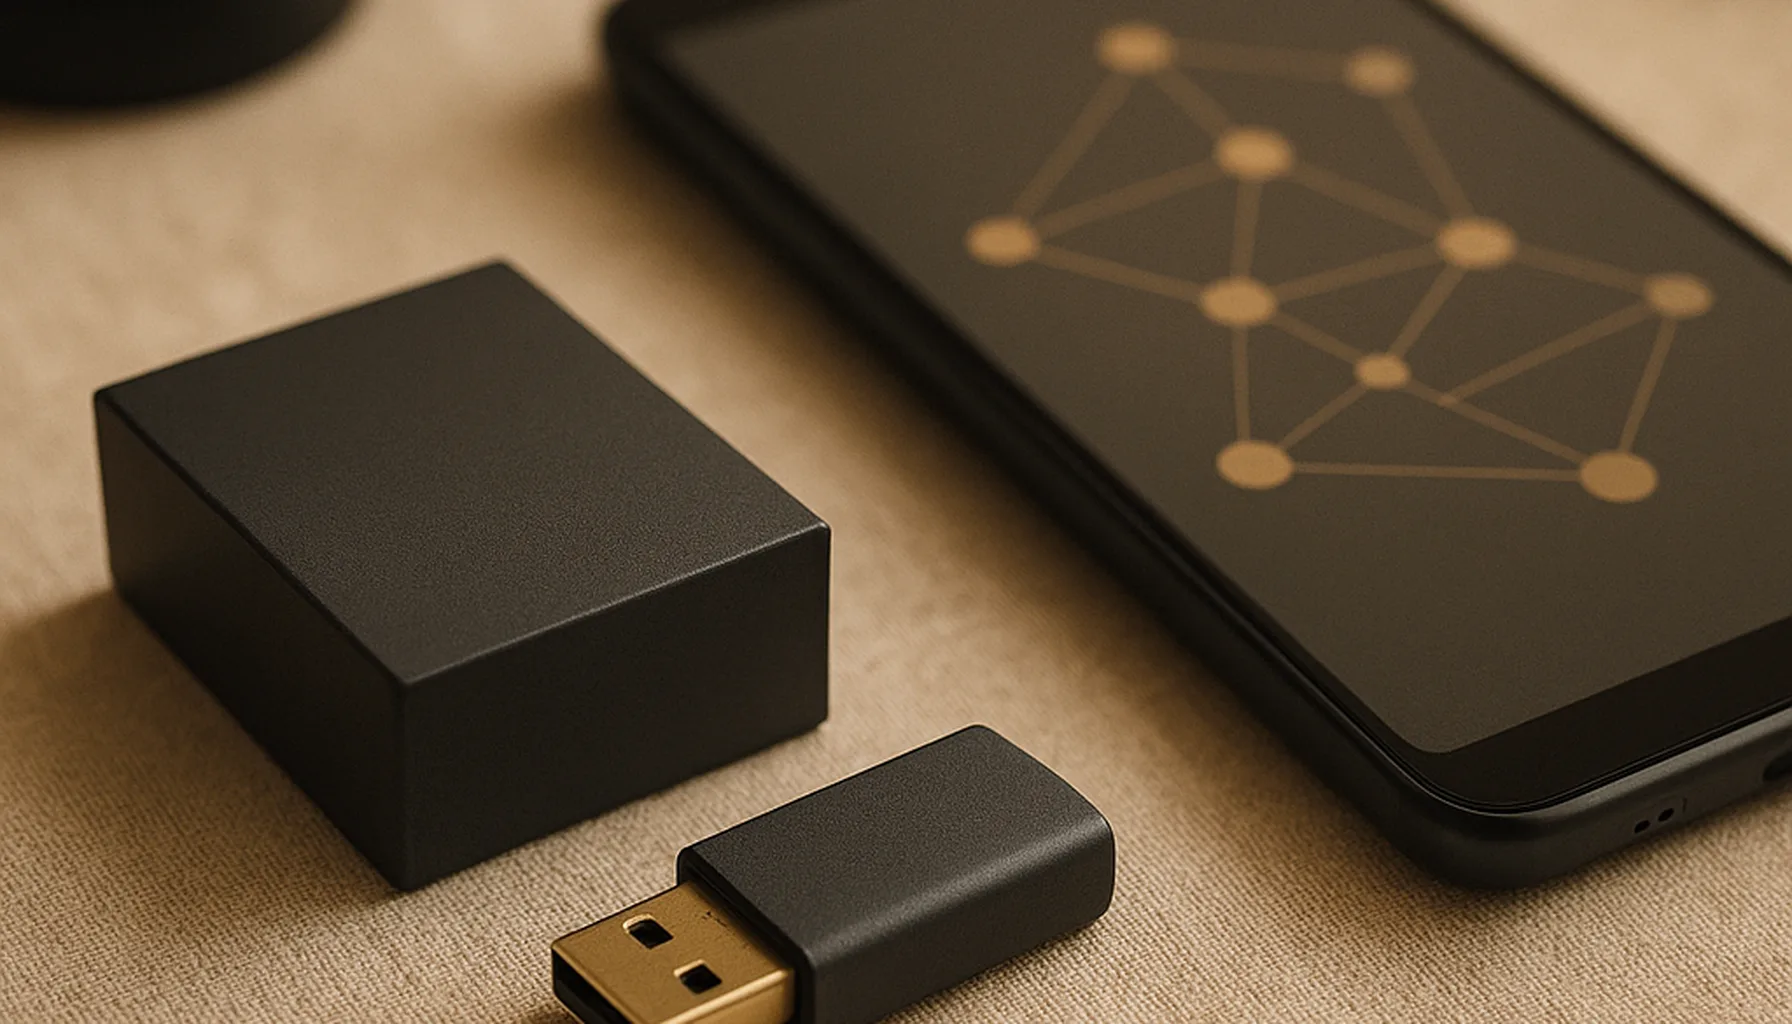
Short answer: You need four things: a Home Assistant box, a Zigbee USB dongle, a battery sensor to practise pairing, and one mains-powered device like a smart plug so the mesh has a router. Then you pair “battery device → dongle” the exact same way every single time. Budget: roughly €50-80 to start. Time: an evening.
What you actually need
Let’s keep it simple. Zigbee is a radio protocol for smart home devices; Home Assistant is the brain that talks to it. To join them you need:
- Home Assistant running — on a Raspberry Pi, a mini PC, or a VM. If you can see the Home Assistant web interface, you’re ready.
- A USB dongle — the radio stick that plugs into that machine. This is the coordinator, the single most important hardware you’ll buy. Think of it as the mailbox for the whole Zigbee network.
- Battery devices — sensors (door, motion, temperature). They never route traffic for others, so they’re perfect to learn pairing with.
- Mains-powered devices — plugs or bulbs. These two things: do their job and repeat messages for battery devices. A network with only battery sensors will be a sad network.
That’s the whole mental model. Everything else is detail.
Step 1 — Pick a coordinator and plug it in
Don’t overthink this. Buy the Sonoff ZBDongle-E — it’s the de-facto standard for Home Assistant, works with both software stacks, and the troubleshooting community is enormous. Two tips before you even pair anything:
- Use a USB 2.0 extension cable (1 m). USB 3.0 ports radiate interference that messes with Zigbee’s 2.4 GHz band; a cheap extension fixes most of it before it starts, and lets you place the dongle somewhere open instead of the back of a machine.
- Use current firmware. The vendors flash a first firmware version; updates fix real issues. Flashing is a web page now, not a IT rite.
Then tell Home Assistant about the dongle through the integration for your software stack — Zigbee2MQTT or the built-in ZHA. The dongle shows up as a serial device; the integration finds it automatically in most setups.
Step 2 — Pair your first sensor
Start with a battery device, like an Aqara door/window sensor. The ritual is the same for every battery device:
- Put the coordinator in pairing mode in Home Assistant (“Add device”).
- For Aqara, hold the reset button on the sensor for about 5 seconds until the little LED blinks.
- Wait. The sensor joins the mesh and appears in Home Assistant; give it a name and a room.
- Close and open the door — the state should flip in the web interface.
The trick: pair battery devices close to the coordinator (1-3 m), not at their final location. That way they join the right parent node. You can move them afterwards — the mesh sorts itself out.
Step 3 — Add a mains-powered router
Now add a smart plug or a smart bulb. Pair it the same way as the sensor, then plug something into it — a lamp, a charger. This device does double duty: it switches the lamp on and off for you and becomes a router for nearby battery sensors. This is the single most important concept in Zigbee: mains devices carry the mesh, battery devices just use it.
Rule of thumb we wish we’d known: if a sensor in the back room keeps dropping, the fix is usually a mains device between it and the coordinator — see our range guide.
Step 4 — Automate one tiny thing
Before you build 40 automations, make one that proves the whole chain works. A good first one: “when the front door opens, turn on the hallway light.” Door sensor → dongle → Home Assistant → smart plug → light. If that chain works, you understand Zigbee and Home Assistant well enough to grow.
Don’t make the beginner mistake of automating everything at once: change one rule at a time, and give the mesh a few days to settle before you judge reliability.
Common first-week pitfalls
- Pairing far from the coordinator. The sensor joins whatever parent it can hear — sometimes the wrong one — and stays attached even after you move it. Pair close, then move.
- Ignoring the USB extension. A dongle jammed between USB 3.0 drives “works”, until it doesn’t. The 1 m cable is €6 of insurance.
- Too many battery devices, too few routers. If every sensor is battery-powered, the mesh is a chain of whispers. Every mains device is a router; add them on purpose.
- Trusting one bad reading. Zigbee link quality changes constantly with network conditions. Look at patterns over days, not one number on one evening.
- Skipping firmware. On the dongle and on mains devices. Old firmware is the cause of a lot of “my network is flaky” posts.
Bottom line
Set up Zigbee with Home Assistant the boring, reliable way: a ZBDongle-E with a USB 2.0 extension, a battery sensor paired close to it, and a smart plug as your first router. Pair the same way every time, add mains devices on purpose, and automate one small thing before building big. That’s the entire starter kit — and it’s the exact recipe our 46-device network grew from.
Prices and availability checked 2026-09-25. Commissions are earned from qualifying purchases — see our affiliate disclosure.